7. Layout + Field Prep
Kickstart Agroforestry
Now that you have your completed site design on paper, it’s time to put it into action. There are several ways to translate the layout you have on your map or plot plan onto your site. Your approach will largely depend on the scale of your planting. Small-scale plantings of ±100 trees (±1/2 acre) can be planted by hand without any specialized or mechanized equipment over one or a couple of days, depending on the size of your crew. Many hands make light work! Larger fields (>2 acres) will benefit from the aid of tractor implements and may also require additional survey equipment for more accurate/detailed layouts.
For trees planted by hand, you can use landscape measuring tape (usually 300’) to triangulate distances and locations, especially if you have a fixed point (like a tree or a building corner) on your map from which you can begin. Determine level lines across slopes using a water level or ‘bunyip’ to ensure trees are planted on contour. If you are planting in a grid or staggered grid pattern, tie string between two stakes at either end of each row. Mark each tree location with a stake, flag, or spray paint.
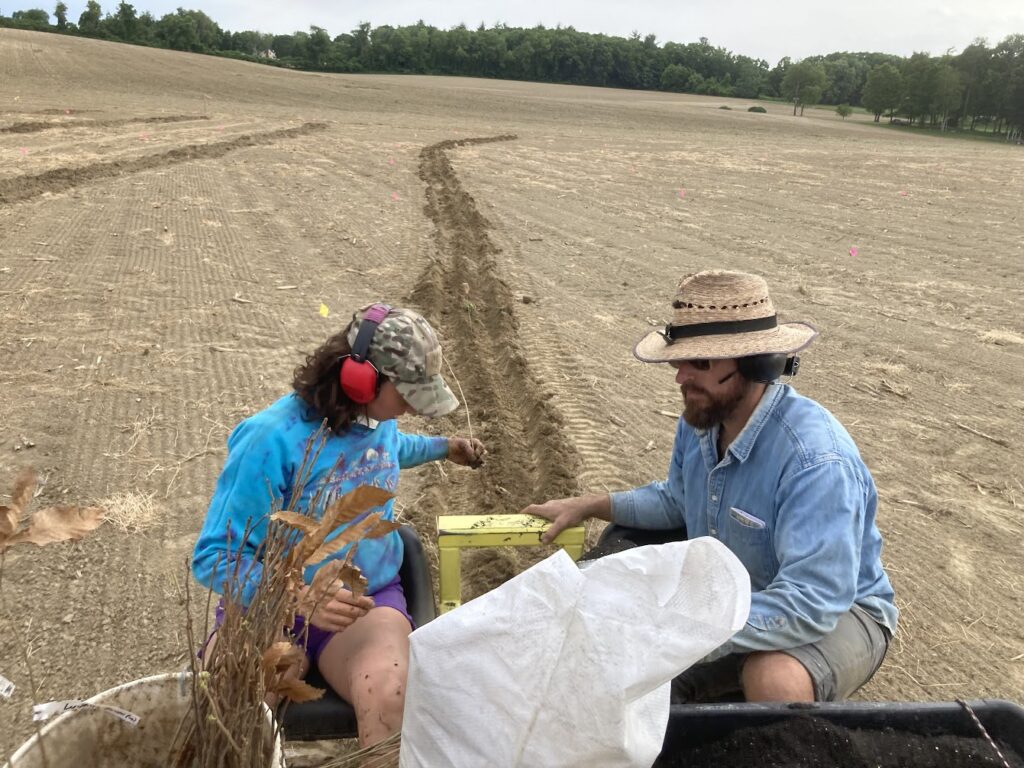
For trees planted on broadacre, professional survey equipment may be well worth the expense to save time and labor, especially if you are implementing a more complex design. GPS devices can pinpoint pre-determined coordinates, and some tractors can even be programmed with precision GPS navigation. You may also hire a professional agroforestry consultant to assist with this critical step.
Field Prep
Field prep techniques will differ depending on scale, the type of system, and the existing site conditions prior to development. Below are the typical steps involved in planting a perennial system. It is important to note that it may take 1-3 years to prepare a site BEFORE planting; these activities rarely all happen within one season.
| PREPARATION YEAR(S) | ||
| Step 1 | Site Prep | Install any necessary infrastructure such as fencing, irrigation, drainage tile, or other earthworks (ponds, swales, terraces) requiring heavy machinery |
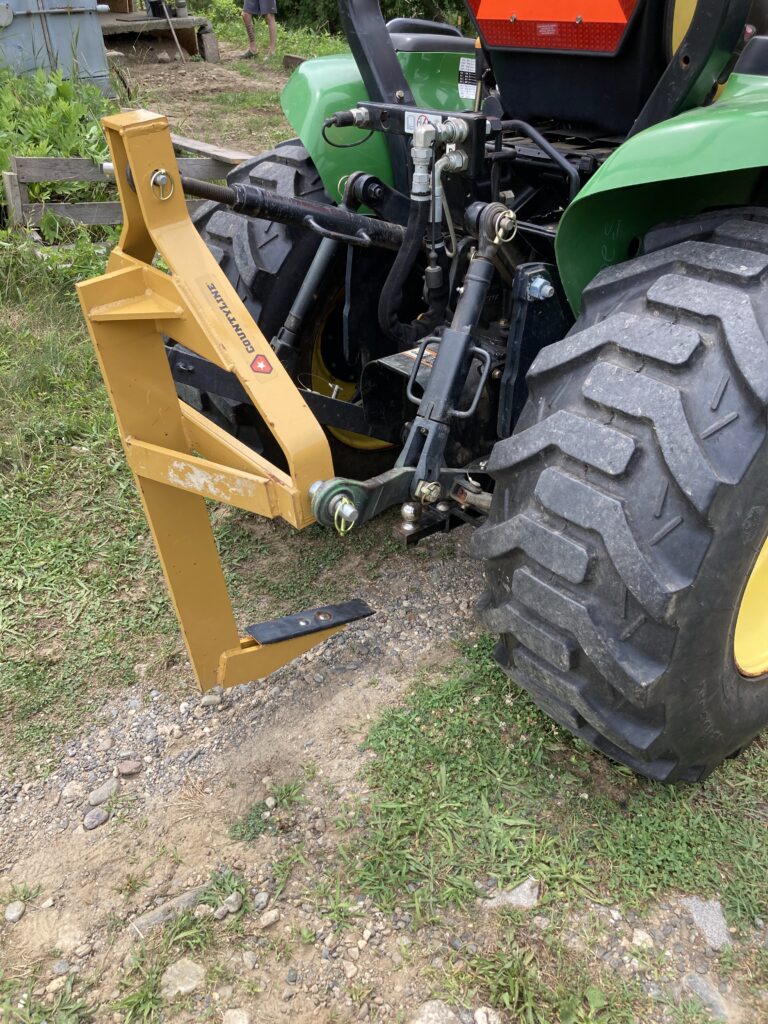
| Step 2 | Soil Prep | Perform any necessary subsoiling to reduce soil compaction and amend your soil according to soil test results |
| Step 3 | Remove Vegetation | Remove any existing vegetation (field crops, sod, or forest regrowth) and begin management for weed pressure |
| Step 4 | Establish Groundcover | If appropriate, establish your cover crops, alley crops, perennial groundcovers, or forage mix |
| PLANTING YEAR | ||
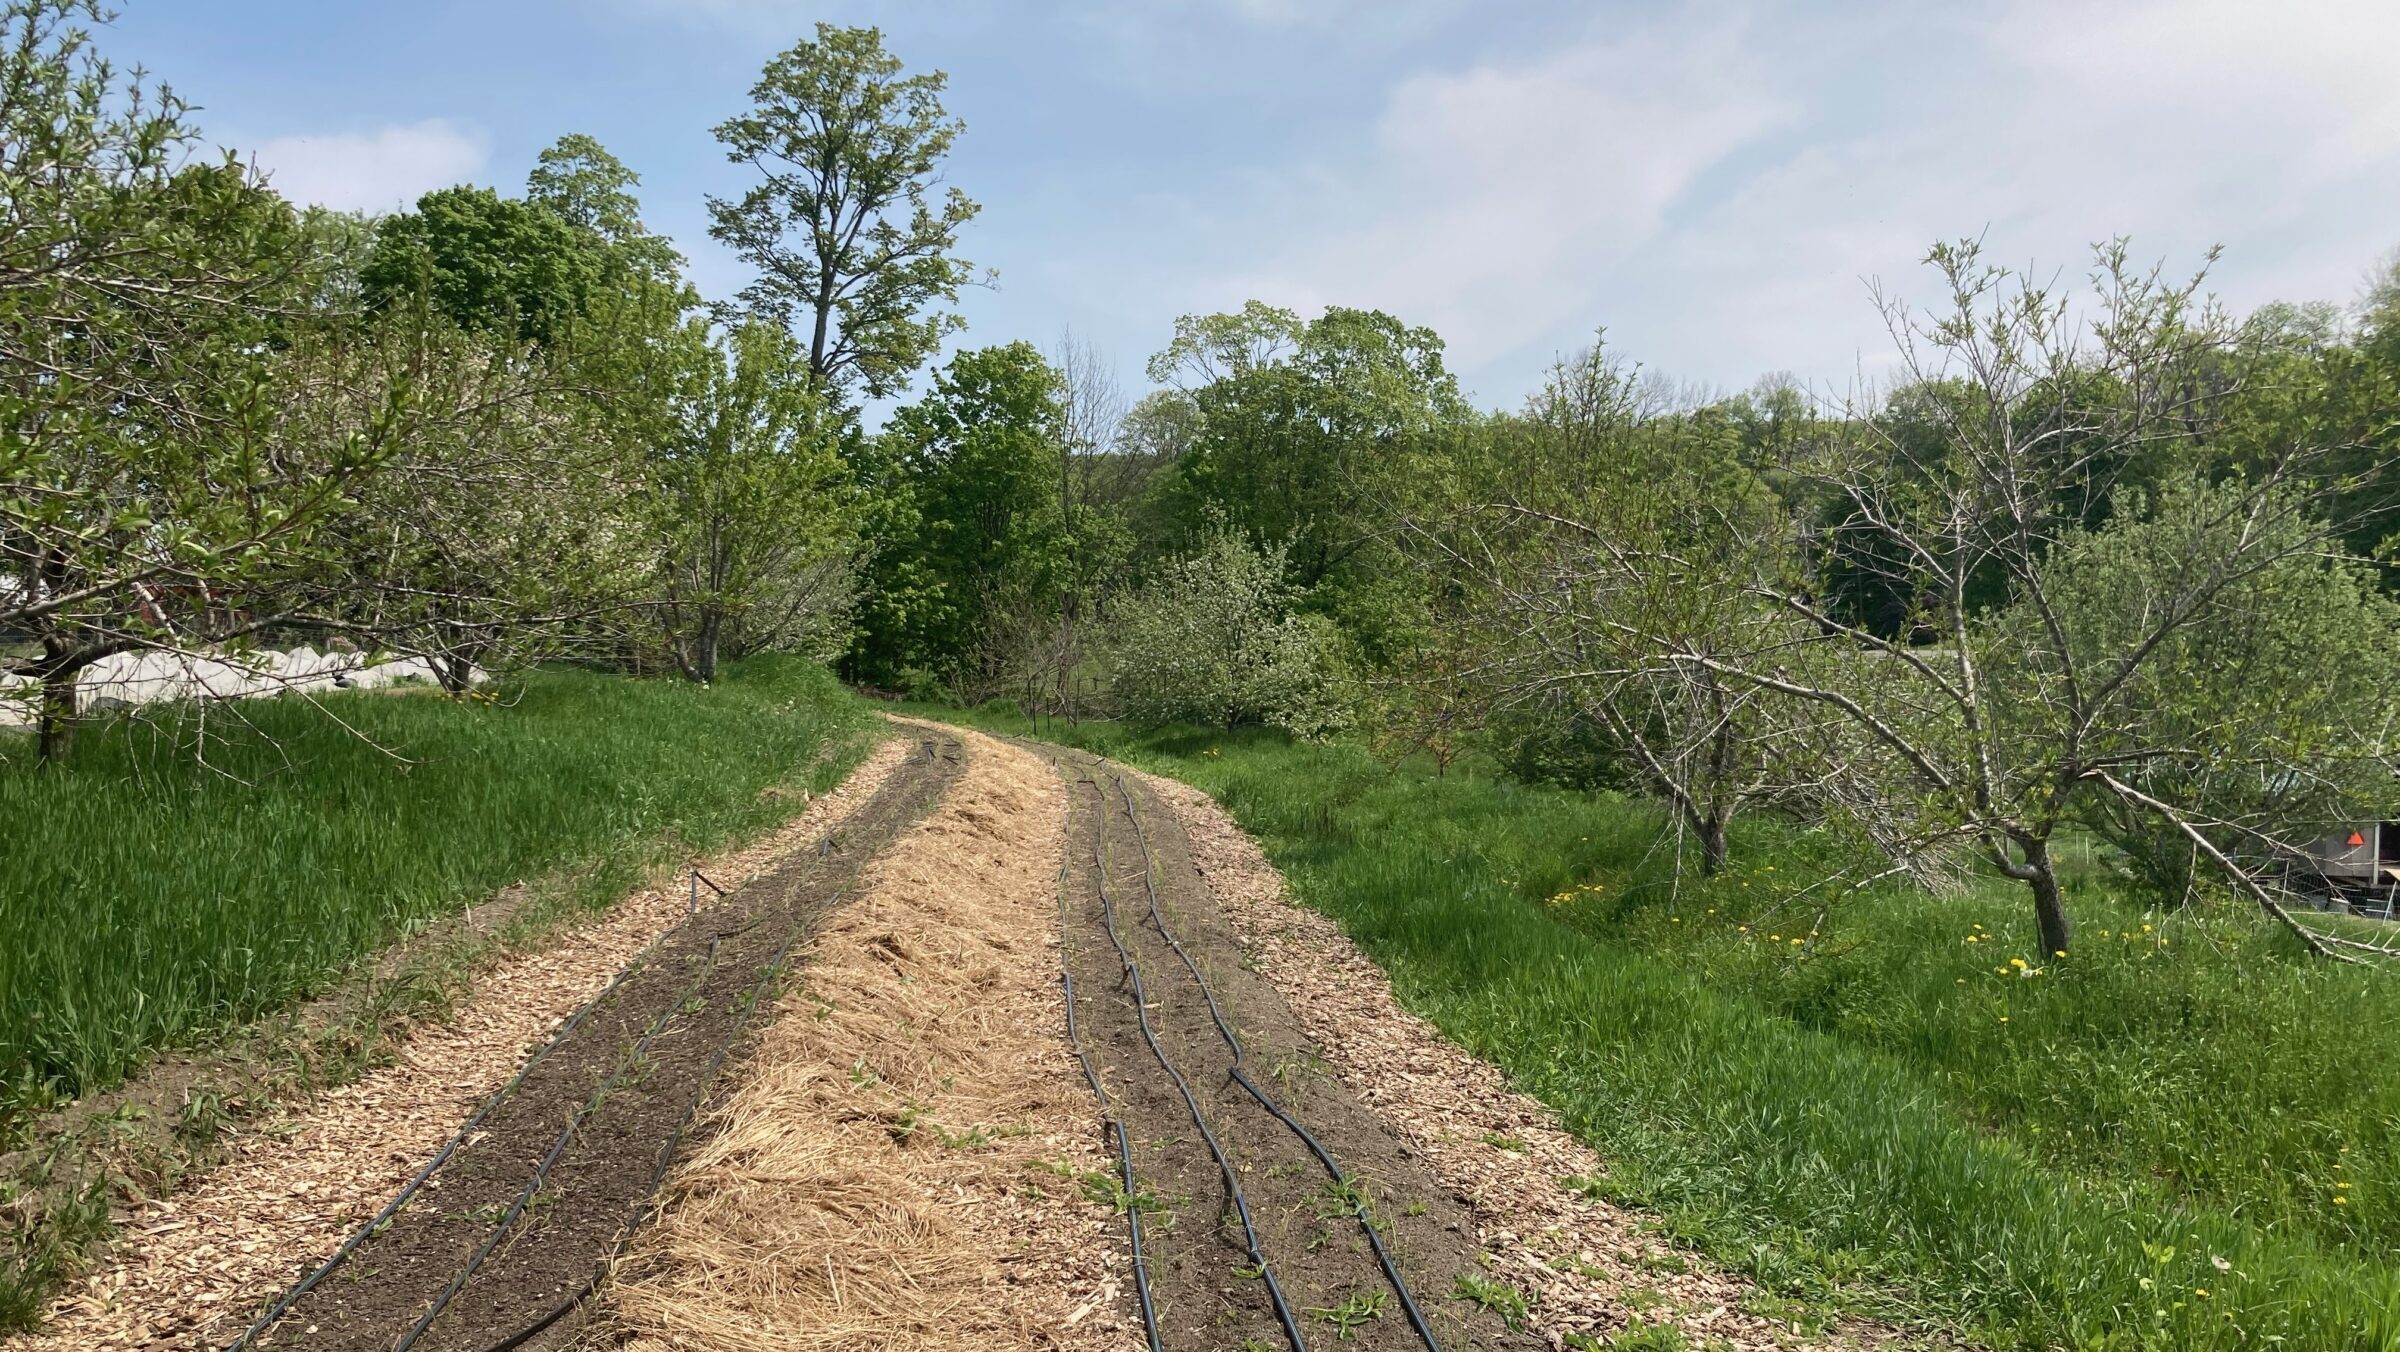
| Step 5 | Layout | Layout your planting site, marking each tree spot with a stake, flag, or spray-paint |
| Step 6 | Inoculate | Inoculate either the soil or bare root trees with appropriate mycorrhizal fungi, native fungi, and/or biostimulants |
| Step 7 | Planting | Dig holes and plant trees (see the next post) |
| Step 8 | Mulching | Cover bare soil to reduce weed competition and conserve moisture |
| Step 9 | Watering | At planting, ensure adequate water (at least 1” per week during the growing season) or irrigation for at least the first 2+ years |
| Step 10 | Protect | install tree tubes, rodent guards, cages, or fencing |
Materials and Equipment
The tools you use during field preparation will vary based on the scale of your operation. The following chart provides a continuum of the types of equipment suitable for small, medium, and large-scale installations.
| Small scale (≤2 acres) | ←→ | Large scale (≥5 acres) | |
| Layout | Tape measure Rope Water level (bunyip) | Laser Level Stakes Flags | GPS coordinates |
| Remove vegetation | Lawnmower Scythe Shovel Hand-weed Strawbales Cardboard | Solarize/ tarp Cut & carry mulch BCS Mower | Woodchipper Flail mower Rotary cutter/Brush hog Subsoiler |
| Amendments /Cover Cropping | Hand broadcast | Broadcast spreader | Seed drill |
| Inoculants | Root dip (by hand) | Fertigation | |
| Planting | Shovel | Mechanical auger | Hydraulic auger Mechanical transplanter Pull-behind tree planter |
| Mulching | Wheelbarrow Rake Cardboard Strawbale | Mulch spreader | |
| Watering | Hose | Passive irrigation | Active irrigation system |

Working with Existing Site Conditions
Establishment methods will also shift depending on the starting conditions of the site you are working with: current use, vegetation cover, and degree of slope. These examples outline what a 2-year conversion process may look like. Some sites may require an even longer timeline.
| Converting an Annual Tilled Field (Minimal slope) | |
| Year 1 |
|
| Year 2 |
|
| Converting a Meadow or Pasture (Mild to moderate slope) | |
| Year 1 |
|
| Year 2 |
|
| Converting Scrubland/Cleared Forest (Mild to severe slope) | |
| Year 1 |
|
| Year 2 |
|
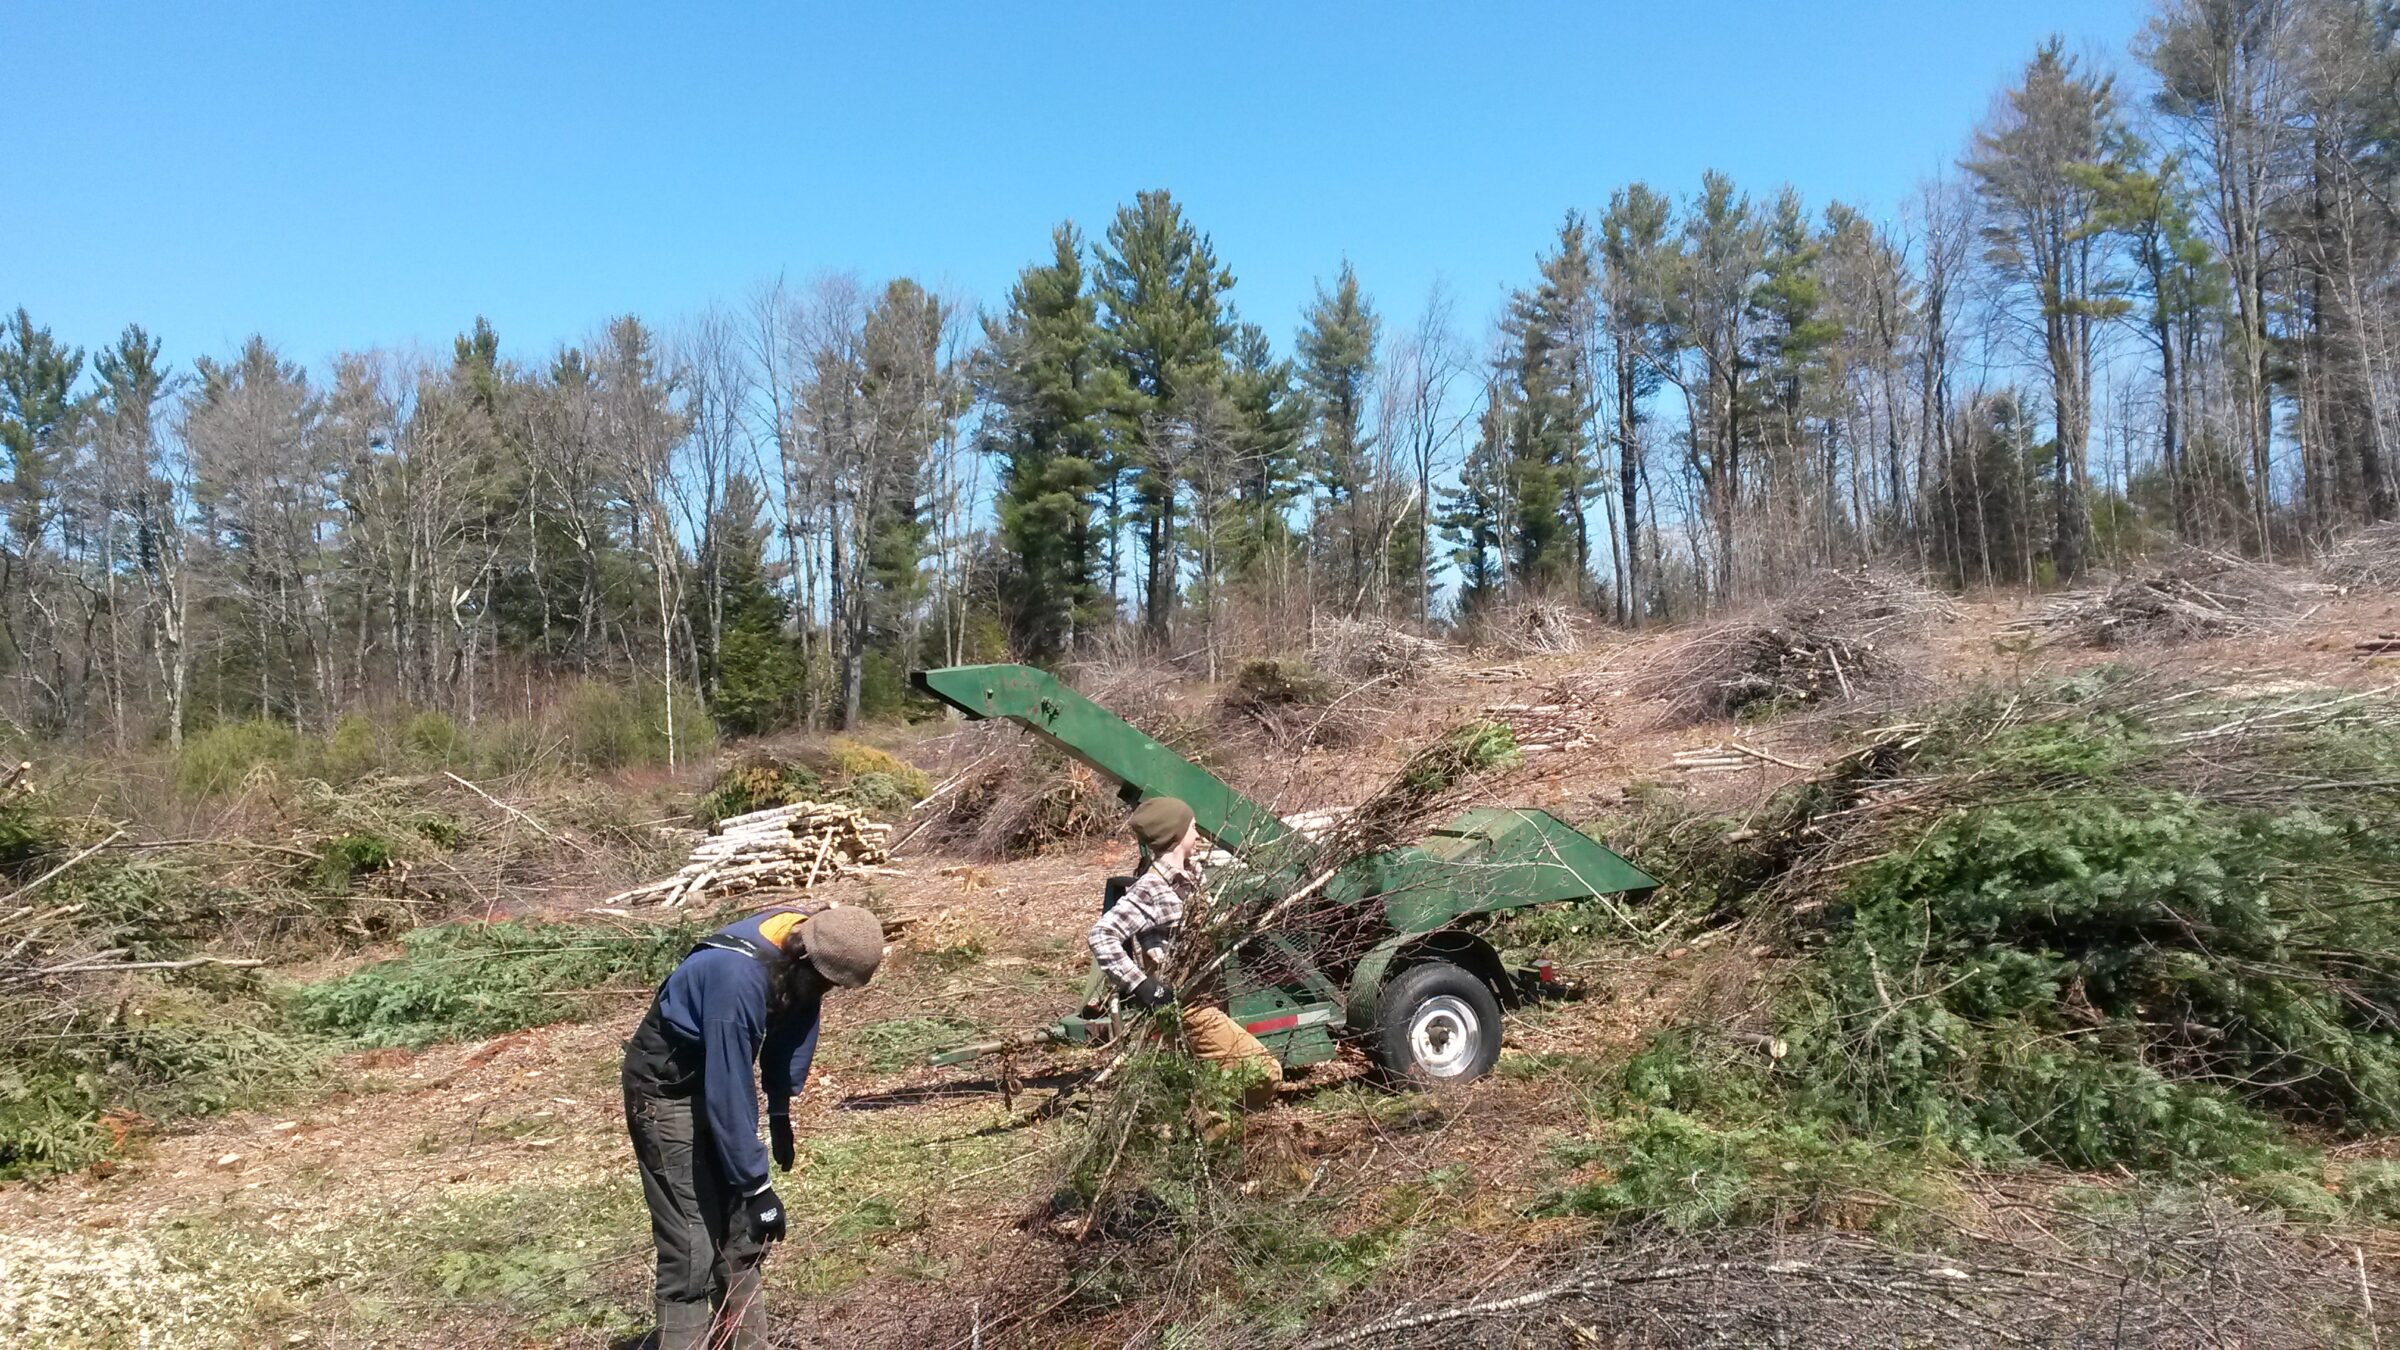
When converting an existing scrubland or forest to a hedgerow or silvopasture system, you may be tempted to quickly clear your site by burning your brush. However, burning releases large stores of carbon and mineral nutrients into the atmosphere, creating a source of carbon pollution instead of a carbon sink. Using a tractor-mounted shredder or a woodchipper turns excess material into a valuable soil-building resource, either as mulch or material for further composting. Brush trimmings and small-diameter trees, in particular, have a higher ratio of cambium to cellulose and contain a storehouse of minerals that can be returned to your soil directly instead of importing costly amendments from other sources to remineralize your soil in the future.
Forest to Silvopasture
If your project involves establishing a silvopasture and managed grazing system on existing forest land, there are a few key components to consider.

Thinning
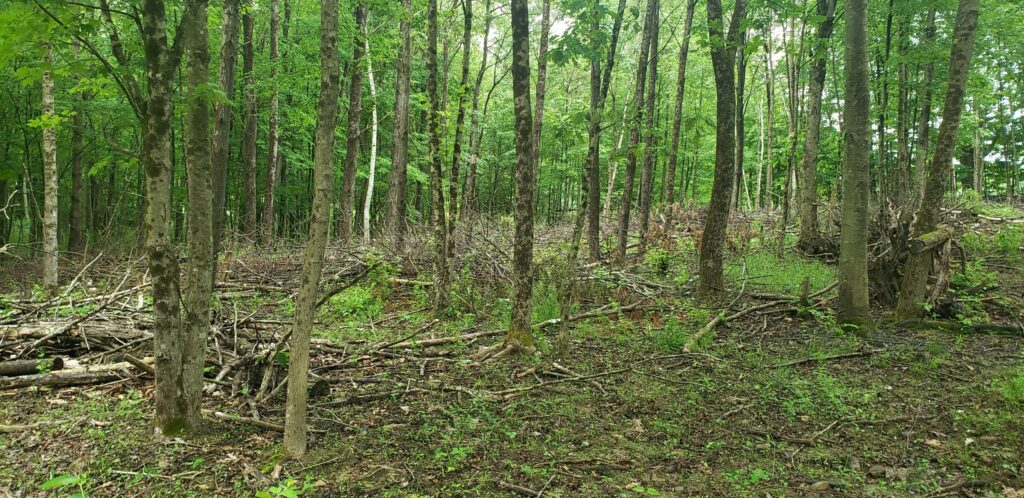
Wooded pastures should aim to have 30-50% canopy cover or around 20-100 trees per acre, depending on current and/or future canopy size. While some stands may initially be thinned for commercial gain, some non-commercial cutting will also be required that prioritizes young, healthy hardwoods at an appropriate spacing. Thin trees gradually, in phases, ideally over several seasons, to build up stand resilience to winds and storms. Removing large trees will especially impact the aerodynamics of the forest and is best done slowly to prevent damage.
Logging with heavy equipment is a disturbance event requiring follow-up repair work to minimize soil erosion and recover from compaction. Cutting and/or chipping brush will aid in repairing damaged soils and preparing the ground for seeding.
When selecting which trees to keep and which to remove, choose individuals that have:
- Desired size and growth habit
- Long-lived overstory tree
- Understory or smaller canopy tree
- Suckering/spreading potential
- Shade characteristics (light or dappled shade is often desired)
- Mast, fruit, or fodder production
- Timber or biomass potential
- Average spacing of 20’-50’ feet or more depending on species/size/age
- Vigorous growth and desired branching pattern – no twisting, forking, etc.
- Are disease and damage-free
Plan for the future by selecting and/or planting some younger trees (or stump sprouts) that will eventually replace older, more mature trees. Protect them from browse.
- Trees can be protected as a row or small block with wire fencing and/or individually with tree tubes and cages. Deer protection might be needed until trees are well established and above decent deer browse lines (6-7’)
- Additional protection with electric or barbed wire may be needed with larger or browse-oriented livestock.
Understory Forage Seeding
If disturbance to the site is minimal (hand-cleared or limited removal of mature trees), and the forest is adjacent to other existing pastureland, there may already be a sufficient seed bank of forage plants for grazers that will develop when exposed to adequate sunlight. Otherwise, you may need to seed a diverse shade-tolerant pasture mix that includes legumes for nitrogen fixation, deep-rooted species, and/or perennial forages to break up compaction and harvest nutrients deeper in the soil.
Methods of seeding may include one or more of the following:
- Mechanical scarification: If the site is accessible by tractor/utility vehicle, a rake or light discing followed by roller or harrow will ensure good seed/soil contact
- Bale grazing: Easy, minimal additional labor input
- Frost-seeding during March/April freeze/thaw cycles – works especially well for clovers.
- Hand-seeding and “animal trodding”: This may be the only or best option for uneven topography/steep slopes, although coverage consistency may vary. Light coverage with soil, compost, or mulch can aid in establishment.
| Forest to Silvopasture Conversion (Mild to severe slope) | |
| Year 1‑3 |
|
| Year 3+ |
|
Related Posts

Comments (0)