8. Tree Planting!
Kickstart Agroforestry
Let’s plant some trees! Now that you know what you are planting, and where the trees are going, it’s time to acquire good quality nursery stock or seeds for growing out yourself. Additionally, if you plan on relying on volunteer labor to help plant your field, take the time to carefully instruct everyone on proper tree planting techniques (see below). This can save you a lot of time, money, and heartache and ensure that all your trees get off to a great start in life.
Nursery Stock
The quality of your nursery stock is critical to the success of your planting. In the wild, most perennial crops evolved to produce a large amount of genetic offspring, and the vast majority of these seeds do not result in thriving, mature seed-bearing plants. Natural selection ensures that only those most suited to their conditions survive. We can ensure far greater survival rates with proper care, but many large commercial nurseries do not provide optimal nurturing. Trees left too long in small pots become root-bound, and an over-dependence on chemical fertilizer for aesthetic appearance can mask other health problems. Moreover, damage during transplanting, graft failure, improper packaging, and shipping can all impact the success of trees after they are planted.
Know your farmer! Getting to know the people who propagated and cared for your nursery stock and the genetic quality of the material itself will go a long way to ensuring good outcomes. A little extra expense upfront for high-quality plants can save significant sums of money when dealing with unhealthy trees and high mortality rates later.
Here is a list of some smaller-scale tree crop/agroforestry nurseries, many in the Northeast (*RDG does not endorse these businesses or receive commissions for any purchases made.)
- Arthur’s Point Farm
- Burnt Ridge Nursery
- Chestnut Hill Tree Farm
- England’s Orchard and Nursery
- Forrest Keeling Nursery
- Humble Abode Nursery
- Perfect Circle Farm
- Red Fern Farm
- Turtle Bend Farm
- Twisted Tree Farm
- Whistle Down Farm
- Wing And A Prayer Nursery
- Yellowbud Farm
- Z’s Nutty Ridge
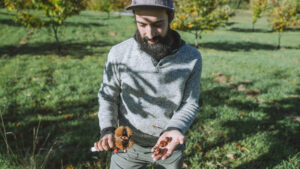
Another option to consider is growing or propagating your own nursery stock. Seeds and cuttings are much easier to transport than young plants, much more affordable, and give you the opportunity to be involved with the plant’s life from the beginning.
- Starting Thousands of Nut Trees
- Getting your first successful fruit tree GRAFT
- Propagation — Easy Stool Layering Technique
What to Plant
Seedlings vs. Cultivars
Seedlings are by nature genetically diverse; when gathering seeds from the wild, the genetic qualities of their parents may not be known (or only partially known). This diversity is highly advantageous, especially if you are prepared to select for desirable plant qualities. This is how edible food plants were developed for most of human history.
If you have a small space or are looking to maximize commercial production, you may prefer to plant cultivars which are either a genetically identical clone of a parent or an “F1” hybridization between two cultivars, known to produce offspring with particular qualities.
Many breeding efforts are underway to create improved cultivars of the most promising perennial crops for agroforestry. These exciting developments will help accelerate commercialization and provide more consistency in flavors, yields, and management. Remember that the best plant genetics may still remain undiscovered and be lying in wait just a few steps out into the woods.
- Effective chestnut and hazelnut management practices and improved genetic materials in New York | Thompkins County – Cornell Cooperative Extension
- History of Chestnut Breeding in the United States
Native vs. Non-native Plants
While the goals of agroforestry align with enhancing natural ecosystems and supporting native birds, insects, and other wildlife, not all of the perennial crops planted in temperate agroforestry systems may be “native” plants. Many of the most productive perennial crops trace their roots to other temperate bioregions and offer significant benefits to landscapes and local food systems beyond what our native species offer. Chestnuts, for example, were once common throughout the Eastern US before the C. parasitica (chestnut blight) decimation in the first half of the 20th century. While the American chestnut (C. dentata) is undergoing revitalization efforts, hybrid breeding programs with Chinese chestnuts (C. mollissima) show much commercial promise. Similarly, efforts to cross the native Hazelnut (C. americana) with European filberts (C. avellana) are catalyzing new commercial plantings across the midwest.
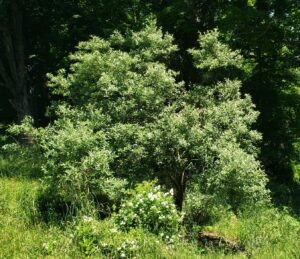
Another way to reframe the debate is to consider the food value and ecological function of non-native plants that have naturalized in our area, either due to mismanagement of the plant itself or the surrounding ecosystem. Shrubs in the Eleganthus spp. family often fall into this category; they tend to proliferate in poor soils and can be exhausting to “combat,” yet the berries are highly edible for humans, livestock, and wildlife, and their perennial spreading roots can effectively build soil and prevent erosion.
While the crops used for agroforestry may not be considered native, a holistic agroforestry planting can still incorporate other ‘native’ support plants to meet other goals, such as supporting pollinators, fixing nitrogen, and building soil organic matter.

Bare Root vs. Potted Plants
Planting bare-root trees that are 1-2 years old (“whips”) is preferred by most growers because it is generally less expensive and provides the least amount of transplant shock to the tree, and the odds of survival are highest. Other options include planting plugs or transplanting from air-pruning pots or Ellepots® that include soil. If you buy containerized trees or shrubs, check to ensure the plant is not rootbound from spending too much time in confinement, which can lead to future disease or strangulation. You can also choose to purchase (or wild-gather) seeds. However, it is generally recommended to grow them out for a year or two in pots, air-pruning beds, pot-in-pot nursery, or a well-protected garden bed before transplanting into a larger field as seeds and young seedlings are highly vulnerable to predation from rodents and other wildlife. Many tree seeds must also undergo a cold stratification process; some may even take up to 2 years to germinate.
- Air Prune Beds with Akiva Silver
- How I Stratify Seeds—Bucket Method
- Nursery and garden design explained — sunken pots for perennials overwintering
When to Plant
The best times to plant perennial rootstock are either early in the spring or late in the fall. Seedling or layered trees can be dug up as soon as the ground thaws (generally in March and April in the Northeast) and shipped or moved before they break dormancy and put out new root growth and leaves. Moving bare-root trees after leaf out is incredibly stressful to the plant and often results in plant mortality. Containerized plants may do better, but they must be monitored carefully and well-watered. Late fall, after leaf drop (generally mid-October to mid-November), is also a good time to plant, though the planting window can be short. Ideally, trees will have enough time to establish some stabilizing root growth before the ground freezes and causes winter injury.
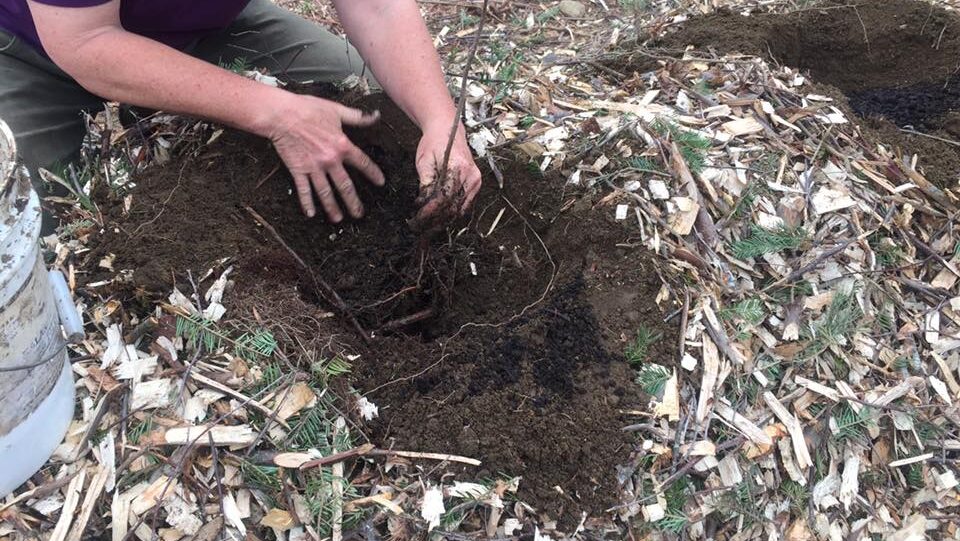
How to Plant a (Bare Root) Tree in 7 Steps
1. Inoculate
Dip bare root tree roots in a broad spectrum mycorrhizal inoculant before planting. Do not allow tree roots to dry out before going into the ground – they can soak for up to 12 hours in a bucket of inoculated water (in the shade) or be “toed in” to a nearby mulch pile while holes are being dug. Before you begin planting, be sure to have all your materials on hand as close to the action as possible, including compost, mulch materials, and water.
2. Dig A Beautiful Hole
“A $10 tree is worth a $50 hole.” Your hole should be saucer-shaped, 2 or 3 times as wide as it is deep. Tree roots grow wider than deeper, although taprooted trees will also require a hole deep enough to generously accommodate their taproot. If using an auger, be sure the sides of the hole are not compacted; use a shovel to score the edges of the hole before planting.
3. Spread Roots
Take the time to carefully spread the roots of each bare root tree, directing them horizontally outward in the direction they are already growing. Piling up a cone of soil in the middle of the hole to support the base of the trunk can help to properly position a tree in the hole and prevent air bubbles from forming under the crown. If a bare root tree’s root system is especially bushy or has exceptionally long roots, you can prune them sparingly to avoid bending the roots upward or curling them to fit into your hole, which can cause damage to the future root system.
4. Backfill with Native Soil
Avoid filling your hole exclusively with enriched compost. You can replace up to 25% of the native soil with compost, but too much fertility can cause roots to keep circling in the hole rather than anchoring into the surrounding soil. As you backfill, ensure the crown or root collar is level with or slightly above the ground level. Trees planted too deep cannot access adequate levels of gas exchange found closer to the surface. The roots will grow upwards and constrict the tree’s vascular system, leading to tree decline and death a decade or more after planting.
5. Mulch
Provide a significant layer of mulch (2-3 inches thick) in a flat 3-5 ft circle around the tree to prevent any immediate weed pressure from encroaching. Hardwood ramial woodchips support greater microbial activity, but mixed (non-dyed) woodchips are also effective weed suppressants. Hay, straw, bark, and wool are also useable. Consider using a biodegradable weed barrier or recycled cardboard beneath the mulch to extend weed suppression throughout the growing season. Be sure to push the mulch away from the base of the tree as this may stunt growth (1-2 inches is fine).
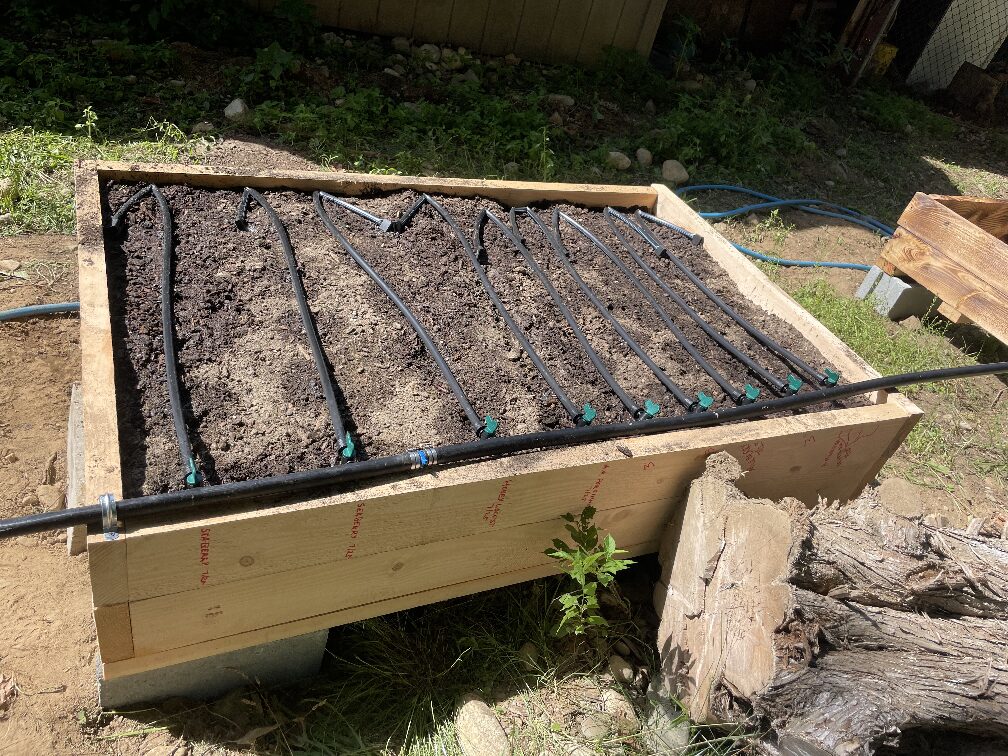
6. Water
Water the tree thoroughly after planting with a good deep soaking (use some of the inoculated soaking water if available). The water will help the soil eliminate large air pores and ensure good root-to-soil contact. Keep trees well watered throughout the establishment years by providing approximately 1” water per week, more in the first several weeks after planting. A slow and deep soaking once weekly is better for the tree than a daily light watering, especially in dry or sandy conditions.
7. Protect
After planting, install your chosen tree protection system – tree tubes, wire cage, or fencing (see below). If allowing livestock access to pasture after planting, test your system before walking away! Tree guards must be removed periodically to inspect for pest or rodent damage or to weed and reapply mulch.
Related Posts

Comments (0)